Add Widgets
Widgets are the building blocks of your dashboard. Each widget displays a specific set of data — you choose what to add, where to place it, and how big it should be.
Step 1 — Open the Add Widget menu
Open the dashboard you want to update, then click Add Widget in the header.

You will see three ways to add a widget:
| Option | What it does | Learn more |
|---|---|---|
| Add Widget | Build a custom widget from scratch using your own data and settings. | Add Custom Widget → |
| Add from Catalog | Pick a ready-made widget from the catalog. | Add from Catalog → |
| Add AI Generated | Let AI suggest and build a widget for you (available based on your role). | Add AI Generated Widget → |
Step 2 — Arrange your widgets
After adding a widget it appears on the dashboard canvas. You can move and resize it to fit your layout.
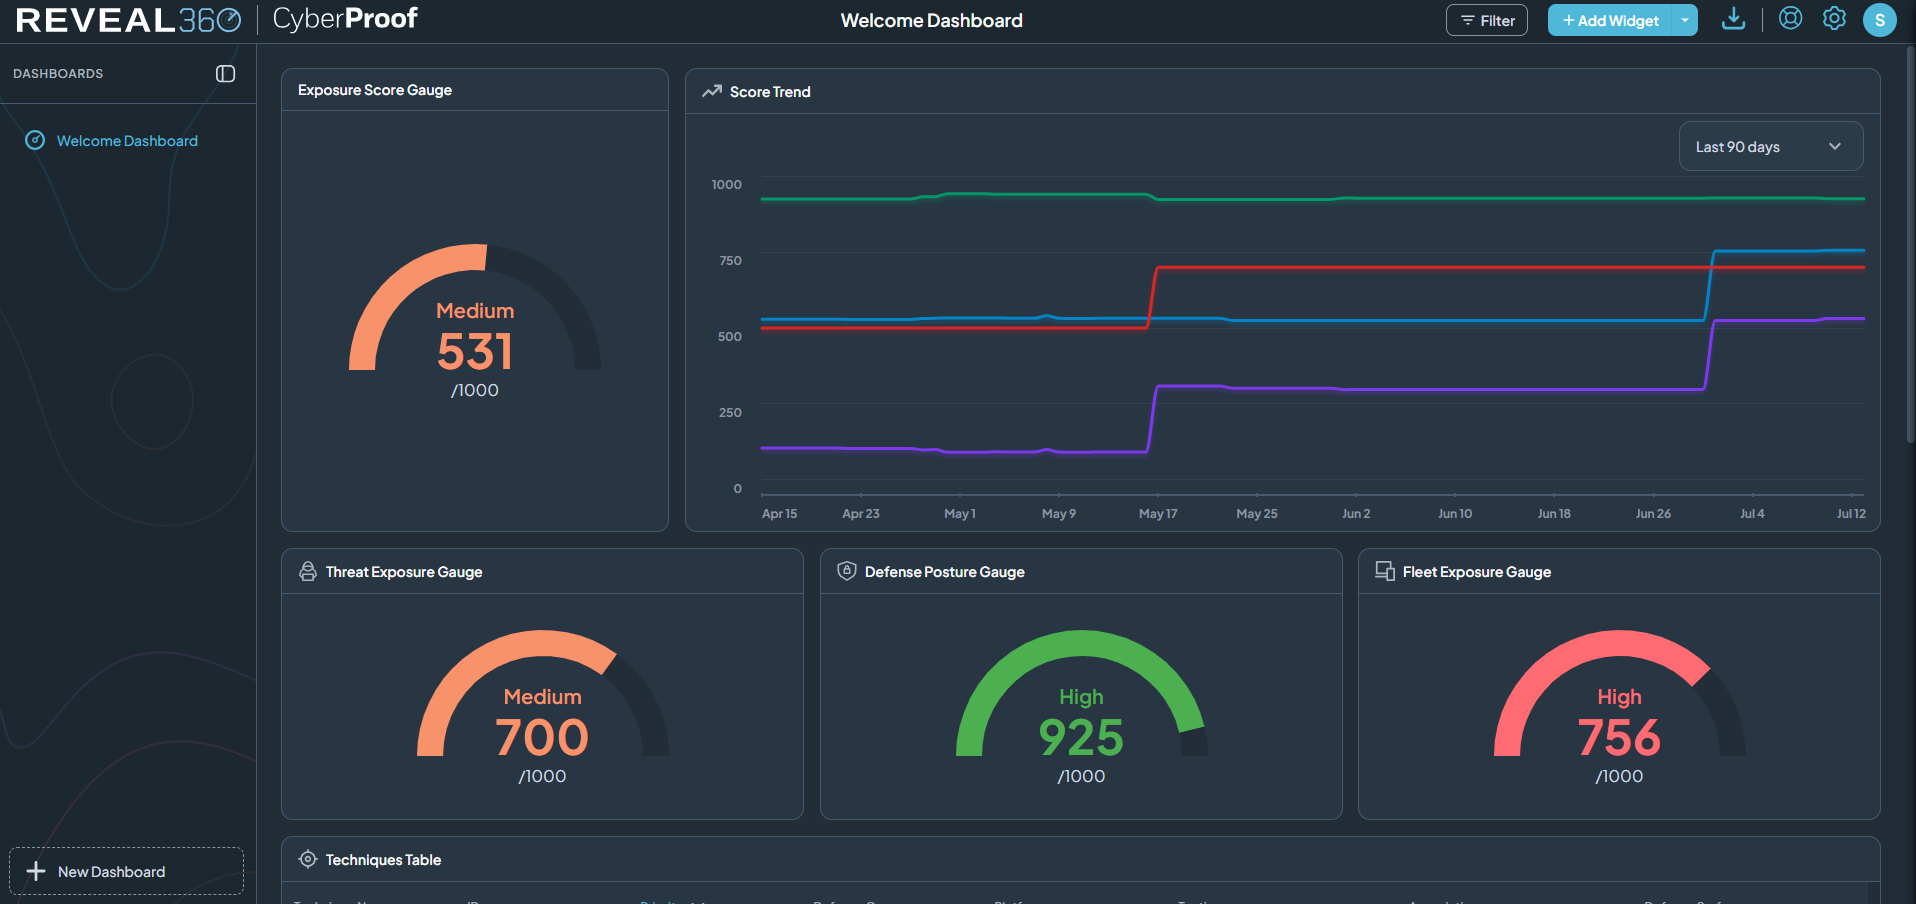
- Move — drag the widget to any position on the canvas.
- Resize — drag the edges or corners to make the widget larger or smaller.
- Repeat to add as many widgets as you need.
Edit or Remove a Widget
If you need to change or delete a widget later:
- Open the menu on the widget card.
- Choose Edit to update its settings, or Remove to delete it.
Tips
- Use the dashboard Filter to apply the same time range or context to all widgets at once.
- Mix summary widgets (quick numbers) with detail widgets (tables, charts) for a clearer view.
- Place your most important widgets in the top-left — that's where eyes go first.